Ambient Lighting Retrofit Guide, How to Get a Premium Layered Look Without Overspending

The best ambient lighting retrofit uses hidden LED strips or low-glare fixtures to create indirect light from ceilings, shelves, vanities, and furniture bases, usually in warm 2700K to 3000K with smooth dimming.
Ambient Lighting Retrofit Guide, How to Get a Premium Layered Look Without Overspending
A good ambient lighting retrofit does not start with smart bulbs or flashy RGB scenes. It starts with one simple goal: make a room feel calm, usable, and expensive without filling it with visible fixtures. That is why layered lighting retrofits are growing so quickly in homes, apartments, and remodel projects. People want the soft indirect glow they see in high-end hotels, luxury kitchens, and Tesla-style interiors, but they want to get there without opening every wall.
The good news is that most of that premium look comes from planning, placement, and product choices, not from exotic hardware. If you understand where ambient light belongs, how bright it should be, and which LED specs actually matter, you can retrofit a room in stages and get a result that looks intentional instead of gimmicky.

Quick answer {#quick-answer}
The best ambient lighting retrofit uses hidden LED strips or low-glare fixtures to create indirect light from ceilings, shelves, vanities, and furniture bases. For most homes, that means warm white light at 2700K to 3000K, high color quality, dimming, and enough output to support the room without making the light source visible. Start with the ceiling perimeter or furniture accents, then add task lighting where needed.
Why retrofits are booming {#why-retrofits-are-booming}
Homeowners are getting more selective about light quality. Bright is easy. Comfortable is harder. The U.S. Department of Energy has repeatedly highlighted that modern LEDs now combine long life, low energy use, and much better controllability than older lamps, which makes them ideal for retrofit projects where efficiency and flexibility both matter. See the DOE's LED basics and SSL resources for the broader shift toward high-performance residential lighting: https://www.energy.gov/energysaver/led-lighting and https://www.energy.gov/eere/ssl/solid-state-lighting.
At the same time, Energy Star points out that qualified LEDs can use at least 75 percent less energy and last far longer than incandescent lighting, which changes the math for people who want to add more lighting layers without increasing operating cost. Source: https://www.energystar.gov/products/lighting_fans/light_bulbs/learn_about_led_bulbs.
The design side matters too. Retrofit buyers have realized that a single overhead fixture makes even expensive rooms look flat. By contrast, indirect perimeter light, shelf light, toe-kick light, and bias light create depth. That is the real premium effect people are chasing.
What makes ambient lighting feel premium instead of gimmicky? {#premium-vs-gimmicky}
Three things separate a clean retrofit from a cheap-looking one.
1. The source stays hidden
If you can see the LED chips directly from normal standing or seated positions, the room stops feeling architectural. It starts feeling like a gadget. The strip or fixture should bounce light off a wall, ceiling, floor, or panel, not into your eyes. That is why ceiling coves, the back side of shelving, under-furniture edges, and behind-headboard details work so well.
For more placement ideas, our [hidden LED strip lighting ideas guide](/blog/hidden-led-strip-lighting-ideas-2026) breaks down the easiest concealment spots.
2. The color temperature matches the room
Most living areas look best at 2700K to 3000K. That range feels warm and residential. Kitchens and work zones can lean slightly cooler when the light is task-oriented, but ambient layers should still stay comfortable. If you are unsure which range fits your space, use our [2700K vs 3000K vs 4000K room guide](/blog/led-color-temperature-2700k-vs-3000k-vs-4000k-room-guide).
3. Dimming matters as much as brightness
A premium room almost never runs at full output all evening. Indirect light should scale down smoothly. The Illuminating Engineering Society and IEEE literature on flicker and power quality have both pushed the industry toward better LED driver design because poor dimming creates visible instability, fatigue, and cheap-looking light behavior. A useful IEEE overview is here: https://ieeexplore.ieee.org/document/8782451.
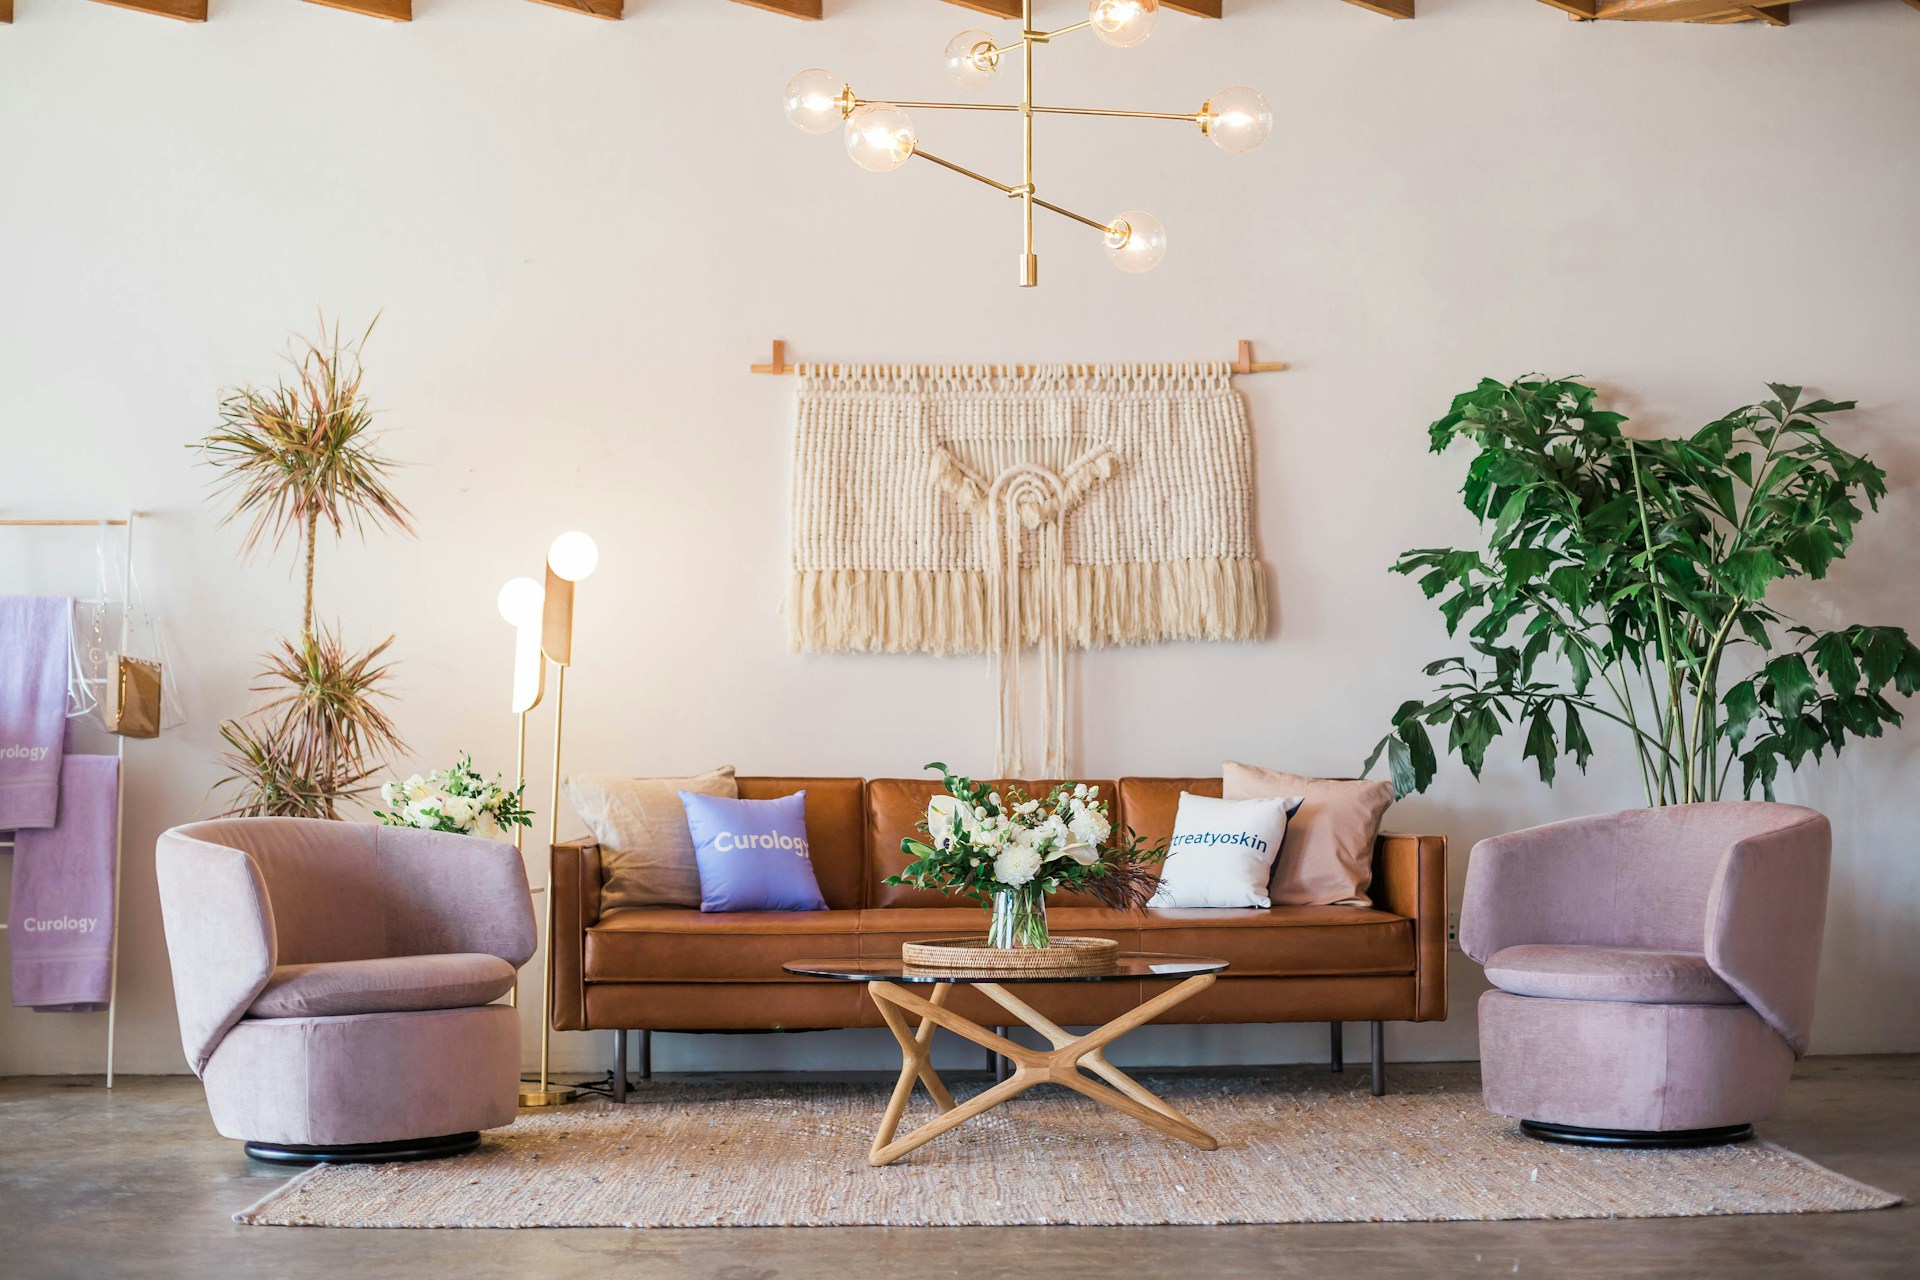
The best rooms for an ambient lighting retrofit {#best-rooms}
Living room
This is usually the best first retrofit because the payoff is immediate. Add one concealed linear layer above eye level, such as a cove, media wall recess, or top shelf wash. Then add a second low-level layer under a console, sofa platform, or floating cabinet. You instantly get more depth without making the room brighter in a harsh way.
Our [layered ambient lighting guide](/blog/layered-ambient-lighting-led-strips) covers this room-by-room approach in more detail.
Bedroom
Bedrooms benefit from low-glare retrofits more than almost any other room. Under-bed lighting, headboard backlighting, wardrobe lighting, and warm cove lighting all improve nighttime usability while keeping the room calm. Avoid cool white strips here unless the room also doubles as a workspace.
Hallways and stairs
Retrofit lighting works especially well in circulation spaces because it improves safety and atmosphere at the same time. Hidden strips under stair nosings, under a hallway bench, or along baseboards create guidance lighting that feels high-end and uses very little power.
Kitchen and bathroom
These spaces need a clearer split between ambient and task lighting. Under-cabinet light in a kitchen is task light first, ambient second. Vanity lighting is similar. If you want a luxury effect, add a separate warm indirect layer below cabinets, around shelving, or above the ceiling line instead of relying on your task lights to do everything.
The core specs to get right {#core-specs}
You do not need the most expensive strip on the market, but you do need the right baseline specs.
- Color temperature: 2700K to 3000K for most ambient residential retrofits.
- Color quality: Aim for CRI 90 or higher so walls, wood, fabrics, and skin tones look natural.
- Strip density: Higher density or COB strips reduce dotting and improve reflected light quality.
- Driver quality: Cheap drivers often introduce flicker, buzzing, or poor dimming.
- Aluminum channel: Important for heat control, straight installation, and a cleaner line of light.
- Controls: Simple dimming beats complicated app scenes for day-to-day satisfaction.
The DOE notes that LED product performance depends on the full system, not just the diode, which is why driver and thermal design matter as much as headline wattage. That is a good reminder not to shop by lumens alone.
A smart budget strategy for retrofits {#budget-strategy}
The fastest way to waste money is to retrofit every room at once. A better approach is staged.
Stage 1: Add one architectural layer in the main room
Pick the room you use most. Usually that is the living room or kitchen-living area. Add one hidden perimeter or shelf layer first. This gives you the biggest visual upgrade for the least complexity.
Stage 2: Add one low-level comfort layer
Under-bed, under-vanity, under-console, or stair lighting is inexpensive and delivers a strong luxury cue. Because these applications often run at low output, they are also cheap to operate.
Stage 3: Upgrade controls and dimming
Once placement is right, improve usability. Better dimming and scene control matter more than adding more LED length.
Stage 4: Fill in task gaps
After the ambient layers are done, address any dark prep zones, desks, counters, or mirrors with focused task lighting. This prevents overbuilding your ambient system just to compensate for missing task light.

Common retrofit mistakes to avoid {#common-mistakes}
Buying RGB first
Color scenes are fun in demos, but they rarely solve the everyday problem, which is that the room does not feel good at normal hours. Start with excellent warm white light. Add RGB only if you already have your baseline layers right.
Using strips with visible hot spots
If the reflected surface is close, low-density strips can create dotted reflections that immediately look cheap. COB strips or diffused channels are usually worth the upgrade for visible architectural applications.
Making everything too bright
Ambient lighting should support the room, not flatten it. When every hidden strip is driven like a work light, the premium effect disappears.
Ignoring electrical and control compatibility
If you want wall dimming, smart control, or both, confirm compatibility before buying. The strip, driver, and dimmer need to work as a system.
Forgetting energy performance
One reason retrofits make sense now is that LED efficiency is high enough to add layers without the old energy penalty. Energy Star and DOE guidance both support choosing efficient, qualified products so your upgrade improves comfort without becoming a maintenance headache.
Recommended retrofit playbook {#playbook}
If you want the shortest path to a premium look, do this:
- Choose one room.
- Add one hidden upper layer, usually cove, shelf-top, or media wall backlighting.
- Keep ambient color at 2700K to 3000K.
- Use CRI 90+ products with proper dimming.
- Hide the source with channels, trim, or furniture setbacks.
- Add one lower accent layer only after the first layer looks balanced.
That formula works because it mirrors how better-lit spaces are actually built. Premium rooms do not rely on one harsh fixture. They combine restrained indirect light with specific task zones and easy dimming.
FAQ {#faq}
What is the best color temperature for an ambient lighting retrofit?
For living rooms, bedrooms, dining rooms, and hallways, 2700K to 3000K is the safest range. It looks warm, flattering, and residential. Kitchens and offices may want cooler task lighting, but the ambient layer should usually stay warm.
Which room should I retrofit first?
Start with the main living area. It gives you the biggest visual payoff and helps you judge whether you prefer subtle or stronger indirect light before repeating the approach elsewhere.
Are ambient lighting retrofits energy efficient?
Yes, if you use qualified LED products and keep brightness appropriate to the job. Energy Star notes that LEDs use dramatically less energy than incandescent lighting, and the DOE has documented the long service life and control advantages of modern solid-state lighting.
Do I need smart lighting for a good retrofit?
No. Good placement and reliable dimming matter more than app features. Smart control is useful, but it should come after the fundamentals are correct.
Is it better to DIY or hire an installer?
DIY works well for under-furniture, shelf, and basic bias-lighting projects. Hire an installer when the retrofit involves crown molding, hardwired drivers, wall dimmers, or any line-voltage work.