Hidden LED Cove Lighting: The Under-$100 Upgrade That Makes Any Room Look Expensive

Hidden LED Cove Lighting: The Under-$100 Upgrade That Makes Any Room Look Expensive
Walk into any luxury hotel lobby, high-end restaurant, or designer showroom, and you will notice something immediately: the lighting does not come from visible fixtures. Instead, soft, even light appears to emanate from the architecture itself — glowing from behind crown molding, floating above shelving, washing down from ceiling ledges. This is cove lighting, and it is one of the oldest techniques in professional lighting design.
The good news: in 2026, you can achieve this exact effect in any room of your home for under $100, in a single afternoon, with no electrician and no permanent modifications.

What Is Cove Lighting?
Cove lighting is indirect illumination created by hiding a light source inside a ledge, recess, or valance — typically near the ceiling — so that light bounces off the ceiling or wall rather than shining directly into the room. The Illuminating Engineering Society (IES) classifies it as an indirect ambient lighting technique.
The result is soft, diffused, shadow-free illumination that makes rooms feel larger, ceilings appear higher, and surfaces glow with warmth. Interior designers have used cove lighting for over a century, but it historically required custom carpentry, fluorescent tubes, and professional electrical work.
LED strip lights changed everything. Modern LED strips are:
- Thin enough (8-12mm wide) to hide in shallow ledges
- Flexible enough to follow curves and corners
- Cool enough (no fire risk) to mount directly on wood or drywall
- Affordable enough ($15-$40 for a 16-foot roll) to experiment without commitment
Choosing the Right LED Strip for Cove Lighting
Not all LED strips produce cove-quality light. Here is what to look for — and what to avoid.
LED Density: 60 LEDs/m Minimum
LED strips come in various densities, typically measured in LEDs per meter:
| Density | Appearance | Best For |
|---|---|---|
| 30 LEDs/m | Visible dots, uneven light | Decorative accent only |
| 60 LEDs/m | Moderate dotting, acceptable with diffusion | Budget cove lighting |
| 120 LEDs/m | Smooth, continuous light line | Premium cove lighting |
| 240 LEDs/m | Perfectly uniform, no visible dots | Professional-grade installations |
For cove lighting, 60 LEDs/m is the absolute minimum — and only if you add a diffuser channel. For clean, professional results without a diffuser, use 120 LEDs/m or higher. The difference in cost between 60 and 120 LEDs/m is typically $5-$10 per 5-meter roll — worth every penny.
Color Temperature: 2700K-3000K for Most Rooms
For ambient cove lighting in living rooms, bedrooms, and dining areas, warm white (2700K-3000K) is the standard recommendation. This matches the warmth of traditional incandescent light and creates the cozy, inviting glow that makes cove lighting so appealing.
For kitchens and home offices, neutral white (3500K-4000K) provides better task visibility while still maintaining a warm feel. For a detailed breakdown of which color temperature works in every room, see our guide on [color temperature for home lighting](/blog/color-temperature-guide).
Avoid cool white (5000K+) for cove lighting unless you are specifically creating a commercial or clinical aesthetic. Cool-white cove lighting in residential spaces tends to feel sterile and institutional.
CRI: 90+ Is Non-Negotiable
Color Rendering Index (CRI) measures how accurately a light source reveals the true colors of objects. For ambient lighting that illuminates an entire room, CRI matters enormously — it is the difference between your room looking rich and warm versus flat and washed out.
The [Energy Star specification](https://www.energystar.gov/products/lighting_fans/light_bulbs/learn_about_led_bulbs) requires CRI 80+ for residential LED products, but premium LED strips from brands like Lumileds, Seoul Semiconductor, and Yuji achieve CRI 95-98. For cove lighting, target CRI 90+ minimum.
Voltage: 24V Over 12V
LED strips come in 12V and 24V variants. For cove lighting runs longer than 6 feet, always choose 24V:
- Less voltage drop over long runs (critical for maintaining even brightness from start to end)
- Higher wattage per meter possible without exceeding amperage limits
- Thinner wire gauge acceptable for the same power delivery
A 16-foot run of 12V strip will visibly dim at the far end. The same run at 24V maintains consistent brightness throughout.
The $100 Shopping List
Here is everything you need for a single-room LED cove lighting installation:
| Item | Approximate Cost |
|---|---|
| 24V LED strip, 2700K, CRI 90+, 120 LEDs/m (5m roll) | $25-$35 |
| 24V power supply (60W for most rooms) | $12-$18 |
| Aluminum channel with frosted diffuser (5m) | $15-$25 |
| L-shaped connectors (for corners) | $5-$8 |
| 3M VHB mounting tape (if not included) | $6-$8 |
| Wire connectors and 18-gauge wire | $5-$8 |
| **Total** | **$68-$102** |
Optional upgrades:
- Smart dimmer ($15-$25): Adds dimming control via app or voice assistant
- Tunable white strip ($40-$55 for 5m): Adjustable color temperature from 2700K to 6500K — see our guide on [2026 home lighting trends](/blog/home-lighting-trends-2026) for why tunable white is becoming the standard
Installation Methods: Three Approaches
Method 1: Crown Molding Cove (Best Results)
This is the gold standard for residential cove lighting. Install a lightweight crown molding (foam or PVC — not heavy wood) 3-4 inches below the ceiling, creating a hidden ledge behind the molding where the LED strip sits.
Steps:
- Measure and cut foam crown molding to room perimeter
- Mount molding 3-4 inches below ceiling line using construction adhesive (no nails needed for foam)
- Install aluminum channel with diffuser on the wall surface behind the molding, LED facing upward
- Connect LED strip sections at corners using L-connectors
- Route power cable to the nearest outlet (behind the molding, invisible)
- Power on and adjust angle for even ceiling wash
Pros: Professional look, completely hidden hardware, removable without damage
Cons: Requires purchasing and installing crown molding
Method 2: Ceiling Perimeter Channel (Simplest)
For rooms with a small ceiling step-down or existing soffit, mount the aluminum channel directly on the vertical face of the step, LEDs facing upward toward the ceiling.
Steps:
- Clean the mounting surface thoroughly
- Cut aluminum channel to length
- Insert LED strip into channel, attach diffuser
- Mount channel using 3M VHB tape (holds up to 10 lbs/ft — more than sufficient)
- Connect to power supply
Pros: Fastest installation (under 1 hour), no additional trim
Cons: Only works if you have an existing architectural ledge
Method 3: DIY Floating Shelf Cove (Most Versatile)
Mount a simple L-bracket shelf 4-6 inches below the ceiling, then install the LED strip on top of the shelf, facing upward. The shelf itself becomes a design element while hiding the light source.
Steps:
- Install L-brackets every 24 inches along the wall
- Mount a 1×4 or 1×6 painted board on the brackets
- Attach aluminum channel and LED strip on the shelf's top surface
- Light washes up toward ceiling, shelf hides the source from below
Pros: Works in any room, adds visual interest, no molding needed
Cons: More visible hardware than crown molding method
The Critical Detail: Diffusion
The number one mistake in DIY cove lighting is skipping the diffuser. Without it, you see individual LED dots reflected in the ceiling — a dead giveaway that ruins the professional effect.
Aluminum channels with frosted polycarbonate diffuser covers solve this completely. The diffuser spreads the point-source LED light into a continuous, smooth line. Premium diffusers achieve 85-90% light transmission while eliminating all visible hot spots.
If you are using 120+ LEDs/m strips, you can sometimes get away without a channel — the dots are close enough together that the ceiling reflection blends naturally. But for best results, always use a diffuser.
Dimming: Essential, Not Optional
Cove lighting at full brightness is too intense for most ambient applications. A dimmer is essential for creating the right mood — bright enough to illuminate the room during early evening, dimmed to a gentle glow for movie nights or bedtime.
Option 1: Inline PWM dimmer ($8-$12) — a small dial or touch panel that sits between the power supply and the LED strip. Simple, reliable, and flicker-free.
Option 2: Smart WiFi dimmer ($15-$25) — connects to your home WiFi for app and voice control. Most support scheduling, so your cove lighting can automatically dim at sunset and turn off at bedtime.
Option 3: Zigbee/Z-Wave dimmer ($20-$35) — integrates with existing smart home systems (SmartThings, Home Assistant, Hubitat). Best for whole-home lighting automation.
For more on how to create layered smart lighting scenes, see our guide on [how to cut LED strip lights properly](/blog/how-to-cut-led-strip-lights) — cutting strips to the right length is critical for custom installations.
Common Mistakes to Avoid
Mistake 1: Using RGB Strips for Ambient Cove Lighting
RGB (red-green-blue) strips can technically produce white light by mixing all three colors, but the resulting "white" has extremely poor CRI (often below 60) and looks sickly and unnatural. Use dedicated warm white or tunable white strips for ambient cove lighting. Save RGB for accent and decorative applications.
Mistake 2: Undersizing the Power Supply
Calculate your total wattage (strip watts per meter × total meters) and add 20% headroom. Running a power supply at 100% capacity generates excess heat and shortens its lifespan. A 60W supply for a 48W load is the right sizing.
Mistake 3: Ignoring Voltage Drop on Long Runs
For runs longer than 16 feet (5 meters), inject power from both ends of the strip or add a mid-point power injection. Single-end power on long runs causes the far end to appear visibly dimmer — especially noticeable with warm white strips.
Mistake 4: Choosing Adhesive-Only Mounting
The adhesive backing on most LED strips is designed for temporary use. For permanent cove installations, use aluminum channels with mechanical mounting (screws or VHB tape rated for the surface material). Strips relying solely on their built-in adhesive will eventually sag or fall.
Room-by-Room Cove Lighting Ideas
Living Room
Run cove lighting along 2-3 walls for dramatic ambient illumination. Pair with dimmable recessed downlights for task lighting. Color temperature: 2700K.
Bedroom
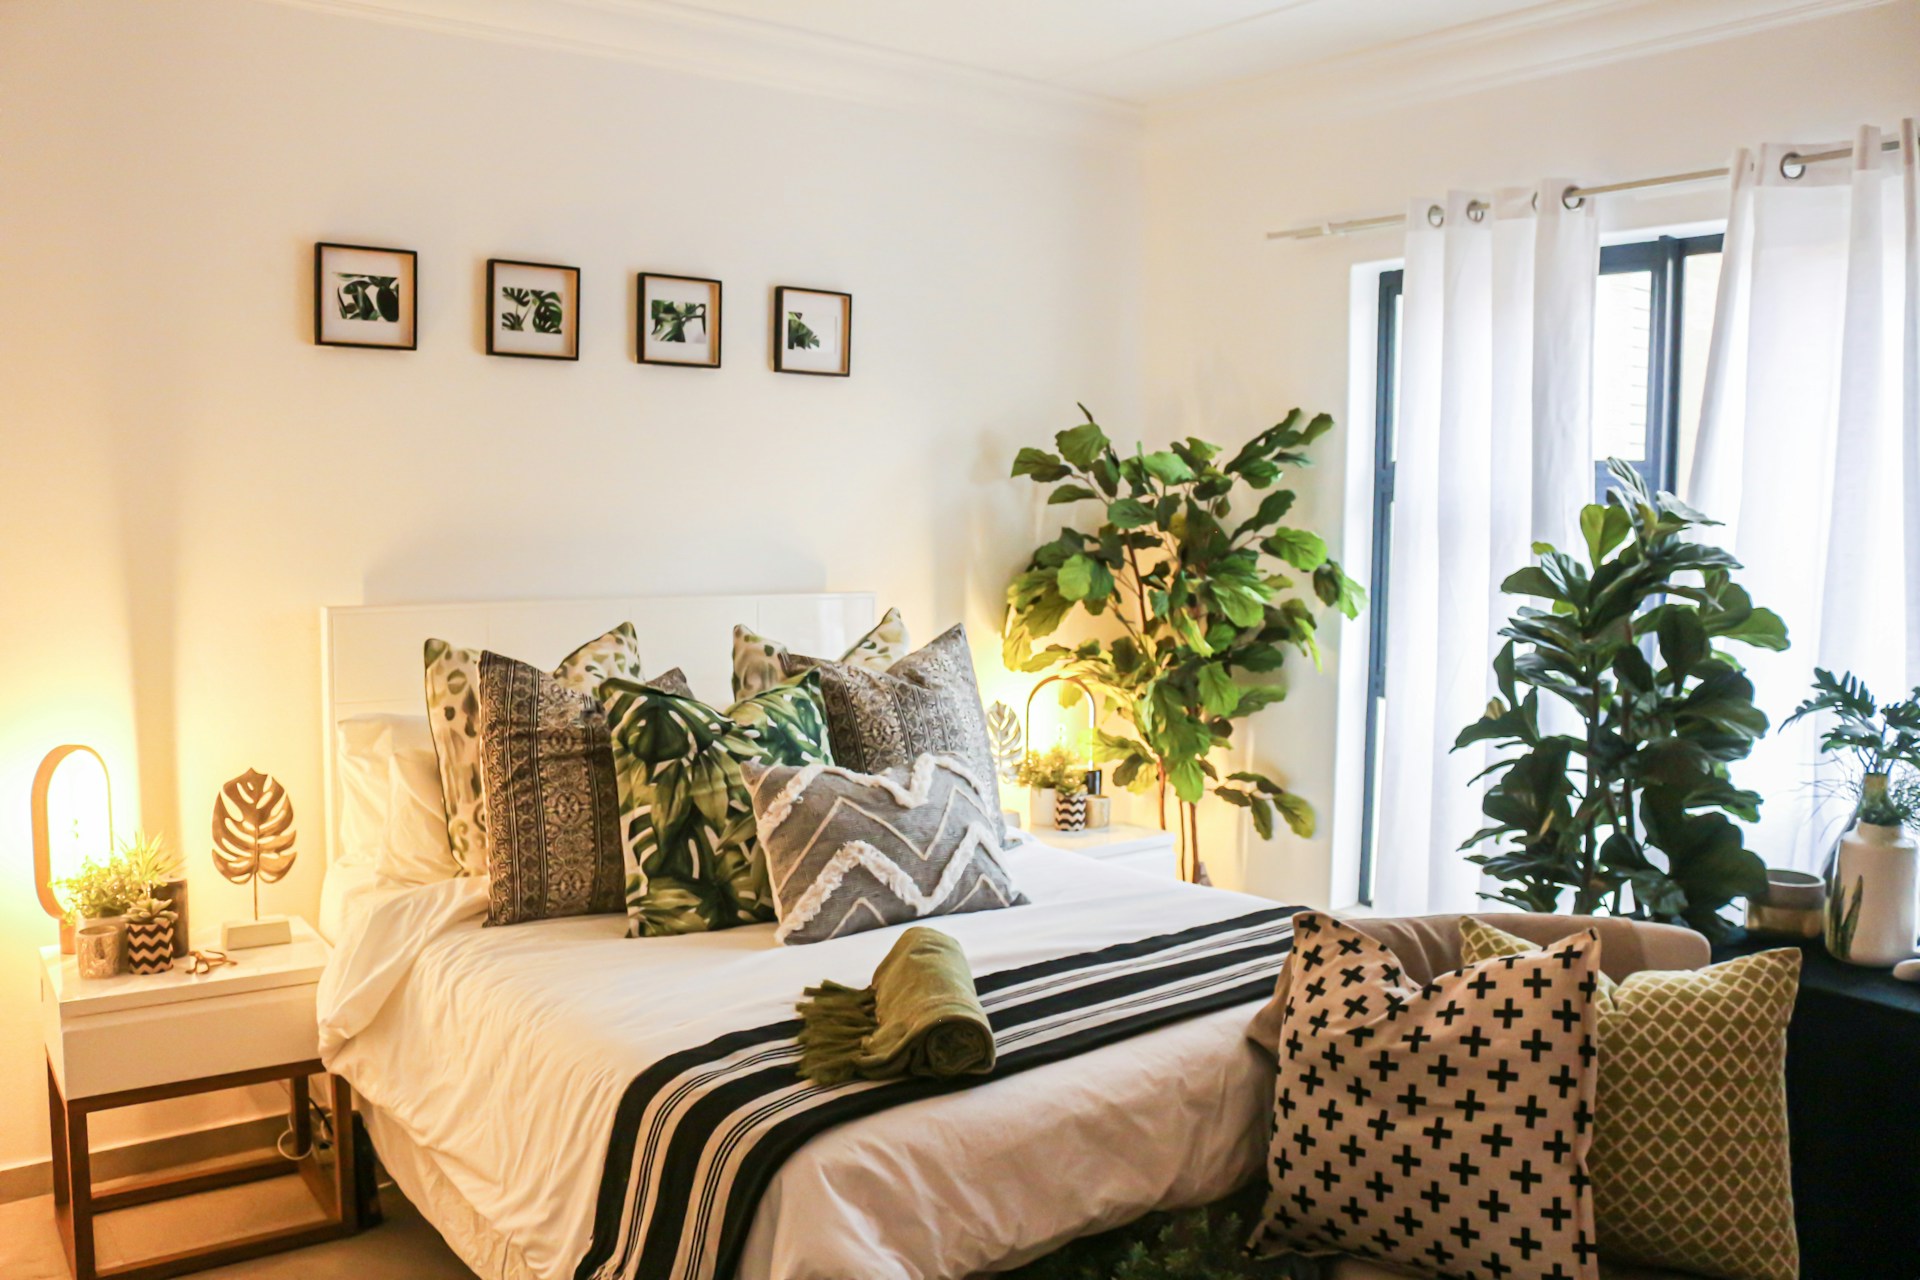
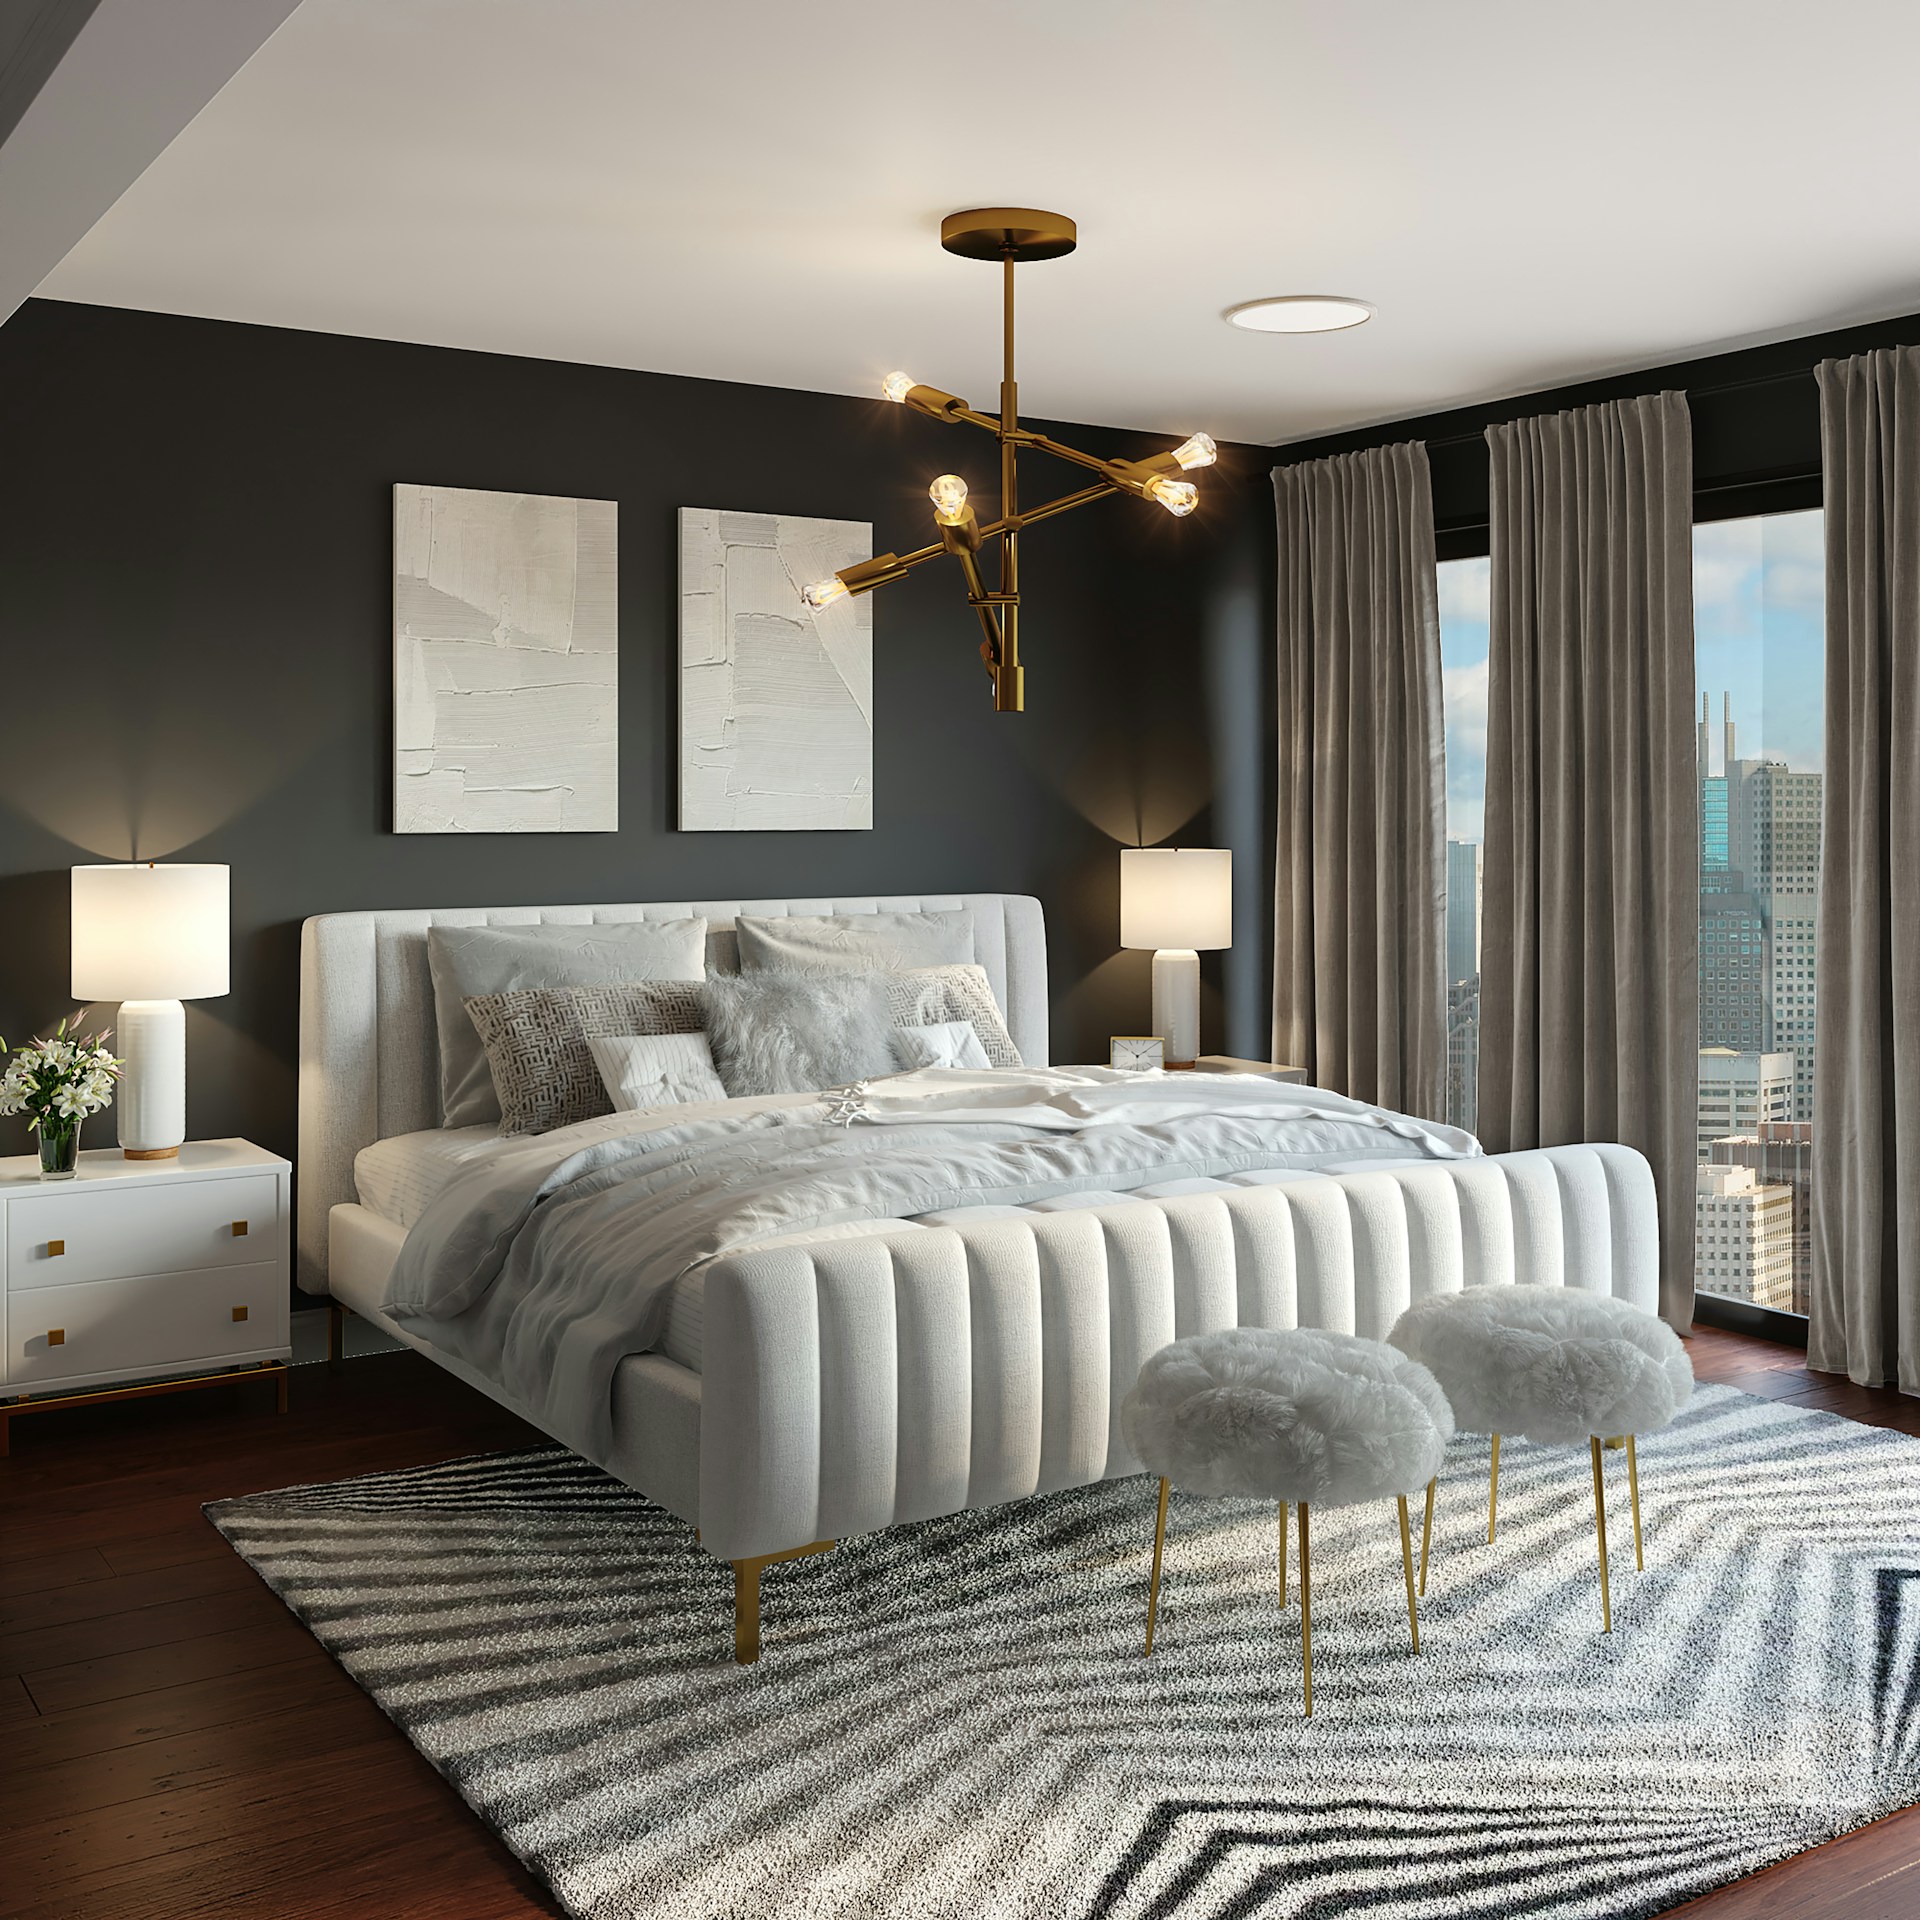
Install cove lighting behind the headboard wall only for a focused, intimate glow. Pair with a smart dimmer on a sleep schedule. Color temperature: 2700K (or tunable white set to 2200K for pre-sleep).
Kitchen
Cove lighting above upper cabinets creates a dramatic floating effect. Complement with under-cabinet task lighting at 4000K. Color temperature for cove: 3000K.
Bathroom
Cove lighting behind a floating vanity mirror eliminates harsh shadows on the face — the same technique used in professional makeup studios and high-end hotels.

The Bottom Line
LED cove lighting is the single highest-impact lighting upgrade you can make for under $100. It transforms ordinary rooms into spaces that feel designed, intentional, and expensive — using the same technique that professional lighting designers have relied on for decades.
The materials are affordable. The installation is DIY-friendly. The effect is dramatic. And unlike paint colors or furniture trends, good ambient lighting never goes out of style.
Frequently Asked Questions
How do I install LED cove lighting on a ceiling?
The most popular method is mounting a foam crown molding 3-4 inches below the ceiling, then placing a LED strip in an aluminum channel on the wall behind the molding, facing upward. The light bounces off the ceiling, creating a soft ambient glow. No electrician needed — the system plugs into a standard outlet.
What LED strip color temperature is best for living rooms?
2700K (warm white) is the standard recommendation for living room cove lighting. It produces the same cozy, inviting warmth as traditional incandescent bulbs. For flexibility, tunable white strips (2700K-6500K) let you adjust the mood — warm for evening relaxation, cooler for daytime activity.
Cove lighting vs recessed lighting: which looks better?
They serve different purposes. Cove lighting provides soft, indirect ambient illumination — it makes rooms feel larger and more luxurious. Recessed downlights provide direct, focused light for tasks. The best-designed rooms use both: cove lighting for ambiance, recessed for task and accent lighting.
Can I install LED cove lighting without damaging walls?
Yes. Foam crown molding attaches with removable construction adhesive. LED channels mount with 3M VHB tape. Power cables can be routed along baseboards with paintable cord covers. The entire installation is reversible and renter-friendly.
How much does LED cove lighting cost per room?
A single-room installation (15-20 linear feet) costs $68-$100 for quality components: 24V LED strip, power supply, aluminum channel with diffuser, and connectors. Adding a smart dimmer adds $15-$25. Professional installation typically costs $200-$400 per room but is unnecessary for most DIY-confident homeowners.