Under-Cabinet LED Strip Lighting: A Step-by-Step Guide for Your Kitchen

Under-Cabinet LED Strip Lighting: A Step-by-Step Guide for Your Kitchen
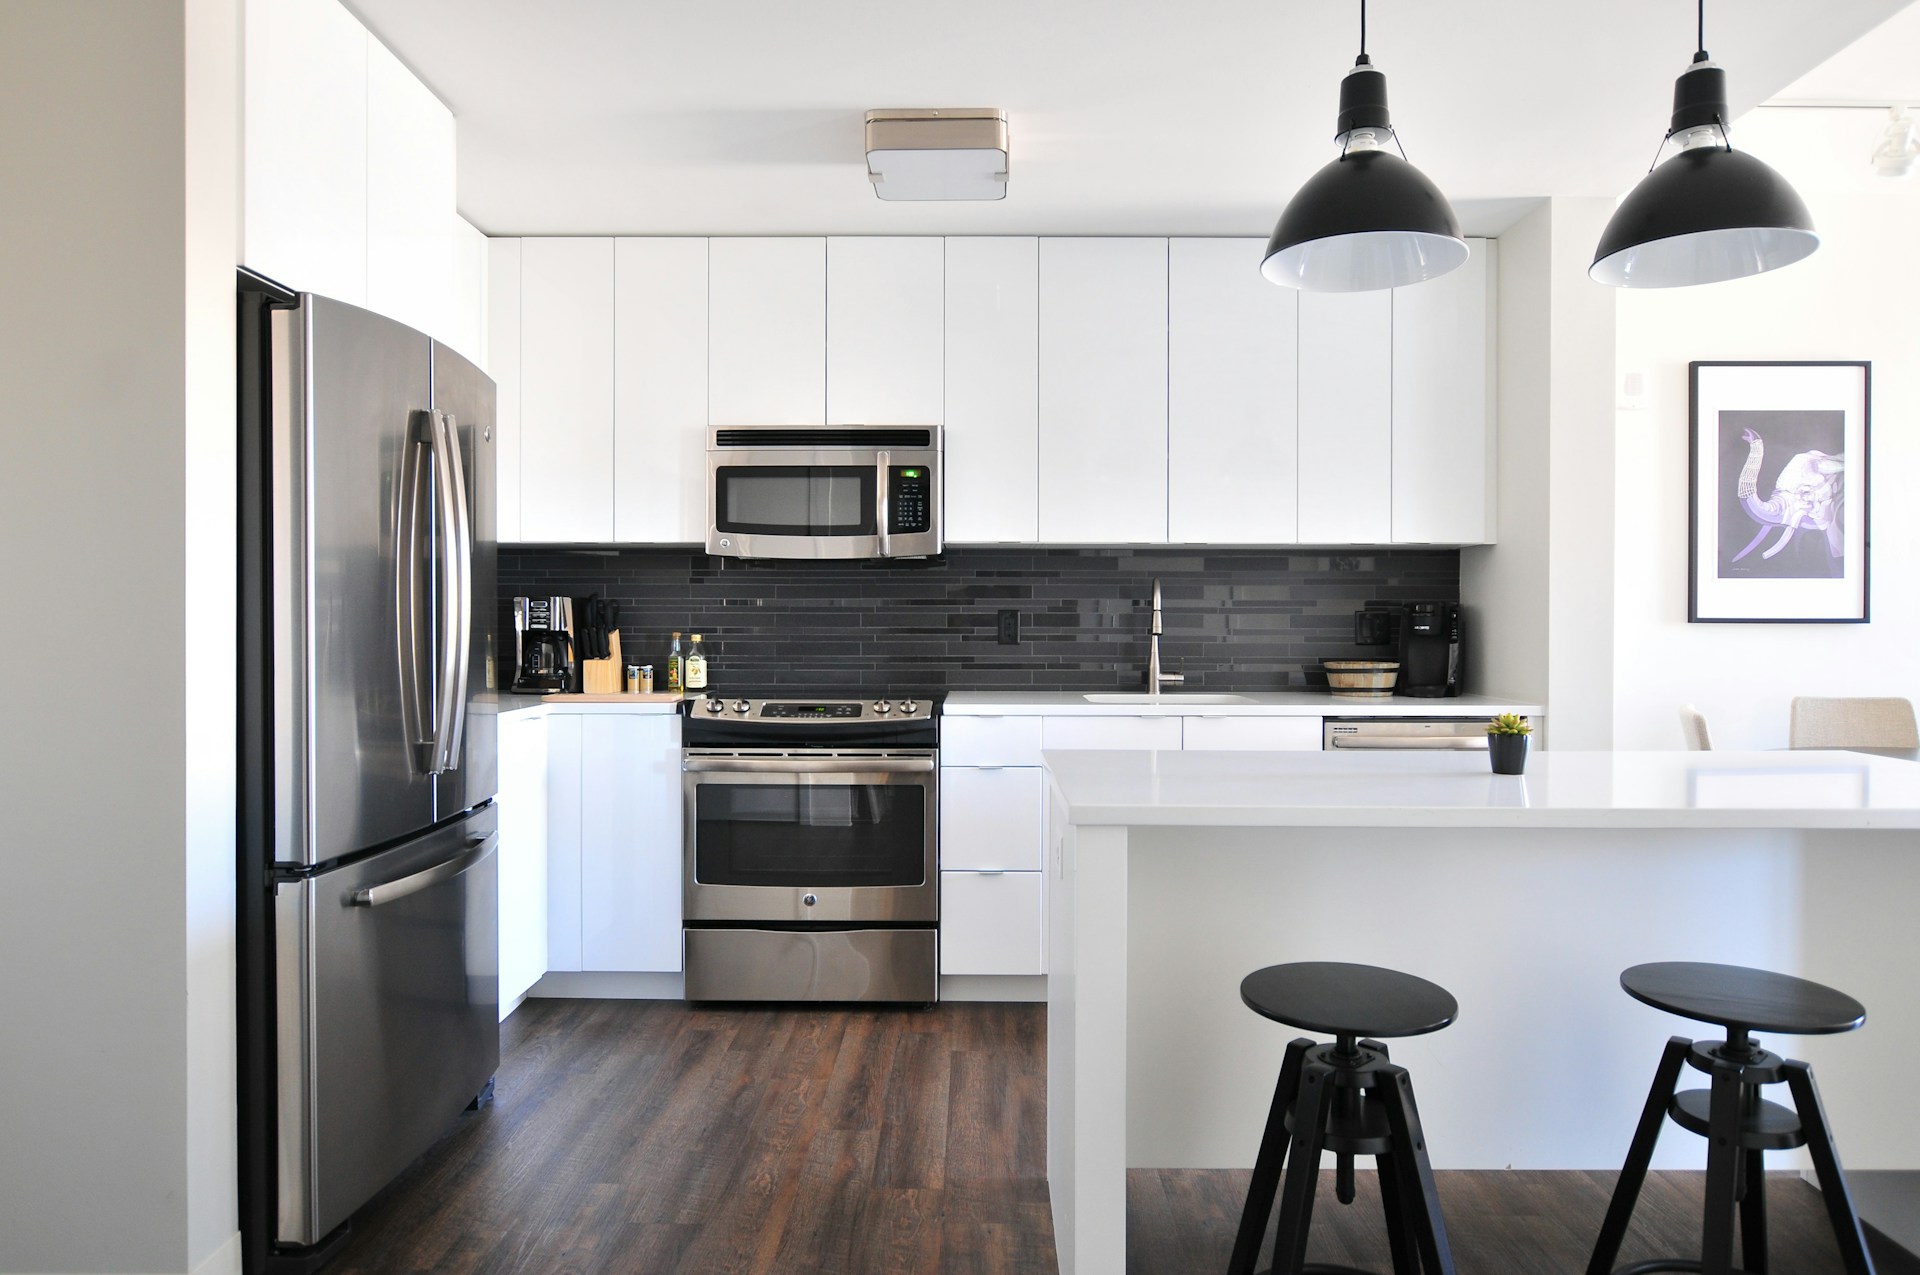
Under-cabinet LED strip lights are one of the highest-impact, lowest-cost upgrades you can make to a kitchen. They eliminate the shadows that overhead lights cast onto your countertop, make food prep safer, and add a layer of ambient warmth that completely changes how your kitchen feels in the evening.
The problem: most people buy the wrong strips, wire them incorrectly, or end up with visible cables and uneven brightness. This guide covers everything — from choosing the right specs to hiding the wiring professionally — so you get a clean, functional result on the first try.
Why Under-Cabinet Lighting Makes a Bigger Difference Than You Expect
Standard kitchen overhead lighting — whether recessed downlights or a central pendant — creates a consistent problem: your body blocks the light the moment you stand at the counter. The result is a shadow exactly where you need to see most clearly.
Under-cabinet LED strips solve this by placing the light source directly above the work surface, angling forward and down onto the counter. The effect is immediate:
- Task visibility improves dramatically — especially for fine knife work, reading small text on labels, and checking doneness on proteins
- Food color looks natural — with CRI 90+ strips, produce is vibrant and meat tones are accurate rather than washed out
- The kitchen gains visual depth — the illuminated countertop pops forward, making the entire room feel more finished
According to [Energy Star](https://www.energystar.gov/products/lighting_fans/light_bulbs/learn_about_led_bulbs), LED under-cabinet lighting uses 75% less energy than the fluorescent puck lights it replaces and lasts up to 25 times longer. A typical kitchen installation covering three cabinet runs costs $40–$80 in LED strips and pays for itself within six months in energy savings versus fluorescent.
Choosing the Right Strip: 5 Specs That Determine the Result
Price alone tells you almost nothing about whether a strip will look good in your kitchen. These five specifications do.
1. Color Temperature (CCT)
For kitchens, 3000K–4000K is the functional range:
- 2700K (warm white): Too yellow for task use — makes vegetables look dull and can make proteins appear undercooked
- 3000K (soft white): Best balance for most kitchens — warm enough to feel inviting, neutral enough for accurate food color
- 4000K (cool white): Excellent task visibility; slightly clinical in feel, better suited to large prep-focused or all-white kitchens
- 5000K+ (daylight): Harsh in residential kitchens; correct for commercial food service environments
For most homes, 3000K is the right default. If you do heavy food prep or have very dark countertops that absorb light, step up to 3500K–4000K.
Our [color temperature guide](/blog/color-temperature-guide) covers the Kelvin scale in full detail with room-by-room recommendations.
2. CRI (Color Rendering Index)
Minimum CRI 90 for under-cabinet lighting. CRI measures how accurately a light source renders color compared to natural sunlight (CRI 100 = perfect match).
Below CRI 80, food looks flat and unappealing under artificial light. CRI 90+ makes produce vibrant, accurately renders meat color throughout the cooking process, and reveals subtle differences in sauce and dough consistency that matter for cooking.
See our [CRI explained guide](/blog/cri-explained) for the technical background.
3. Brightness (Lumens per Foot)
For under-cabinet lighting, target these output ranges:
- Deep counters (30"+): 400–500 lm/ft
- Standard counters (24–26"): 300–400 lm/ft
- Narrow prep surfaces (<20"): 200–300 lm/ft
Standard single-density 2835 strips produce 200–280 lm/ft. Double-density strips (120 LEDs/meter) reach 350–500 lm/ft and are the better choice for primary task lighting. The [U.S. Department of Energy](https://www.energy.gov/eere/buildings/led-lighting) recommends 30–50 foot-candles for kitchen work surfaces — double-density strips at appropriate mounting height achieve this comfortably.
4. IP Rating
Kitchens have moisture — steam from cooking, humidity near the dishwasher, and occasional splashing near the sink all create risk for unrated strips:
- General countertop zones: IP20 acceptable if mounted inside the cabinet overhang
- Near-sink zones (within 24"): IP44 minimum (splash resistant)
- Above range or steaming areas: IP65 recommended
Our [IP ratings guide](/blog/ip-ratings-guide) explains what each rating actually protects against.
5. COB vs SMD Strips
COB (chip-on-board) strips are strongly preferred for under-cabinet lighting. Traditional SMD strips project visible LED dots onto your countertop and backsplash — a distracting, uneven look that becomes more obvious at close range. COB strips use a continuous phosphor layer over densely packed diodes, producing a smooth, dotless light line.
As noted by [Flexfire LEDs](https://www.flexfireleds.com/pages/which-led-strip-light-for-under-cabinet-kitchen), COB strips also reduce glare at low viewing angles — important when you lean over the counter and catch the strip in your peripheral vision. Prices have equalized significantly since 2024; the quality difference justifies the small remaining premium.
Installation: Step-by-Step
What You Need
- LED strip (COB, 3000K, CRI 90+, double-density 120 LEDs/m)
- Matching 12V or 24V power supply (total strip wattage + 20% headroom)
- Aluminum LED channel with diffuser cover (recommended for clean finish)
- 3M VHB double-sided tape (usually included with strips)
- Wiring connectors or soldering kit
- Cable raceway for concealment
- Drill and 1/2" drill bit for routing cables through cabinet walls
Step 1: Measure and Plan
Measure the underside of each cabinet run you want to illuminate. Sketch the layout noting where you will position the power supply (ideally inside an upper cabinet near a GFCI outlet) and how cables will route between sections.
Total wattage = strip wattage per foot × total feet. Add 20% headroom when sizing your power supply to avoid running it at full capacity continuously.
Step 2: Cut Strips to Length
Cut only at the marked cut points on the strip — typically every 2–4 inches for COB strips, indicated by scissor icons or copper pads. Cutting between marks permanently damages the circuit.
Our guide on [how to cut LED strip lights](/blog/how-to-cut-led-strip-lights) covers the process in detail, including the common mistake of cutting on the wrong side of the copper pad.
Step 3: Mount the Aluminum Channel
Aluminum channels serve two purposes: they give strips a clean finished look and act as heat sinks, extending LED lifespan by keeping operating temperatures lower.
Mount the channel to the underside of the cabinet with the provided screws or adhesive tape. Slide the strip into the channel, then snap the milky diffuser cover into place. The diffuser further smooths light output and hides the strip electronics completely.
Without a channel, the strip self-adhesive backing is sufficient for most surfaces. Press firmly for 30 seconds and allow 24 hours for full adhesive cure before applying any tension to the strip.
Step 4: Connect and Test Before Finalizing
Before routing cables and closing up, connect each strip run to the power supply and test carefully:
- Even brightness along the full length — hot spots or dim patches indicate a connection problem or undersized wire gauge
- Consistent color — mismatched strips from different production batches can show visible CCT variation
- Flicker-free dimming — if using a dimmer, test at 10% brightness; flicker indicates a driver incompatibility
Resolve any issues before the adhesive cures. Repositioning strips after 24 hours is difficult without surface damage.
Step 5: Route and Conceal the Wiring
This is where most DIY installations look unfinished. Options from cleanest to most visible:
- Drill through cabinet sidewalls — route all wiring inside cabinet interiors to a power supply hidden in one cabinet near the outlet. Completely invisible from outside.
- Surface cable raceway — slim plastic channel that mounts to the wall and conceals wiring. Paintable to match wall color. Approximately $12–18 for a 6-foot run.
- Tape wiring to the back of the cabinet lip — simplest approach; acceptable when the counter has a tall backsplash that conceals the back wall.

Smart Control Options
Adding a controller turns under-cabinet strips from single-brightness task light into an adaptive kitchen lighting layer:
- PWM inline dimmer ($8–15): Wired between power supply and strips. Simple dial or touch control for non-smart setups.
- Zigbee/Z-Wave LED controller ($25–40): Integrates with Home Assistant, Google Home, or Amazon Alexa. Enables automations — full brightness at 6am for morning prep, 30% warm glow at 8pm for evening ambiance.
- Smart power supply with integrated controller (Gledopto, MiBoxer): All-in-one solution that connects directly to your smart home hub.
Cost Overview
A typical kitchen installation covering three cabinet runs (25–30 feet total) runs $90–$150 on the budget end and $200–$350 for a clean, high-quality result with aluminum channels and a quality driver. The per-run breakdown:
- Budget (SMD 2835, no channel): $33–50 per 10-foot run
- Quality (COB CRI 90+, aluminum channel, Mean Well driver): $85–130 per 10-foot run
Energy savings versus the fluorescent puck lights most kitchens still have: approximately $15–25 per year per run, paying back the installation cost within 2–4 years even at the quality tier.
FAQ
What LED strip brightness do I need under kitchen cabinets?
For standard 24–26" deep counters, target 300–400 lumens per foot. Double-density COB strips (120 LEDs/meter) hit this range reliably. For darker countertop materials — black granite, dark slate, or navy blue cabinets — add 15–20% more output, as dark surfaces absorb significant light before reflecting it back to your work surface.
Should I use warm or cool white LEDs under kitchen cabinets?
3000K (soft white) is the best all-round choice for most kitchens. It provides accurate food color rendering without the harshness of 4000K+ strips. For dedicated prep-heavy kitchens or those with cool-toned finishes, 3500–4000K improves visibility. Avoid 2700K — the warm yellow cast makes raw meat look finished before it is and dulls the color of green vegetables.
How do I hide the wiring for under-cabinet LED strips?
The cleanest method is drilling 1/2" holes through cabinet sidewalls and routing all wiring inside the cabinet interior to a power supply hidden inside one cabinet near an outlet. If drilling is not an option, use paintable surface cable raceways along the back wall under the upper cabinets — they disappear against most wall colors when painted to match.
Can I install under-cabinet LED strips near my kitchen sink?
Yes, with the correct IP rating. Use IP44 (splash-resistant) strips for installations within 24 inches of the sink. Avoid standard IP20 strips in that zone, particularly if your sink area sees steam from dishwashing. Aluminum channels provide additional mechanical protection regardless of IP rating.
How long do under-cabinet LED strips last?
Quality COB strips with a properly sized power supply are rated for 50,000 hours — roughly 17 years at 8 hours per day. The most common failure point is the power supply, not the LEDs. Investing in a quality driver and running it below rated capacity significantly extends total system lifespan.
Related Reading
- [LED Strip Lights: Complete Installation Guide](/blog/led-strip-installation)
- [How to Cut LED Strip Lights Without Damaging Them](/blog/how-to-cut-led-strip-lights)
- [Color Temperature Guide: Choosing the Right Kelvin for Every Room](/blog/color-temperature-guide)